

A claim goes out on the 3rd. By the 30th there’s no payment and no denial, and nobody on your team can say where it is. Usually the problem started long before anyone built the claim: a mistyped member ID, an authorization nobody requested, or a charge entered a week late.
The medical billing process is the chain of steps that turns a patient visit into payment: registration, eligibility and authorization, collections at the visit, documentation and coding, charge entry, claim submission, payer adjudication, payment posting, denial management, and patient billing. Each step depends on the one before it, so a mistake at the front desk often shows up weeks later as a rejection, denial, or underpayment.
Below is how each of the medical billing steps works in practice, and where each one usually breaks.
Front End: Before and at the Visit
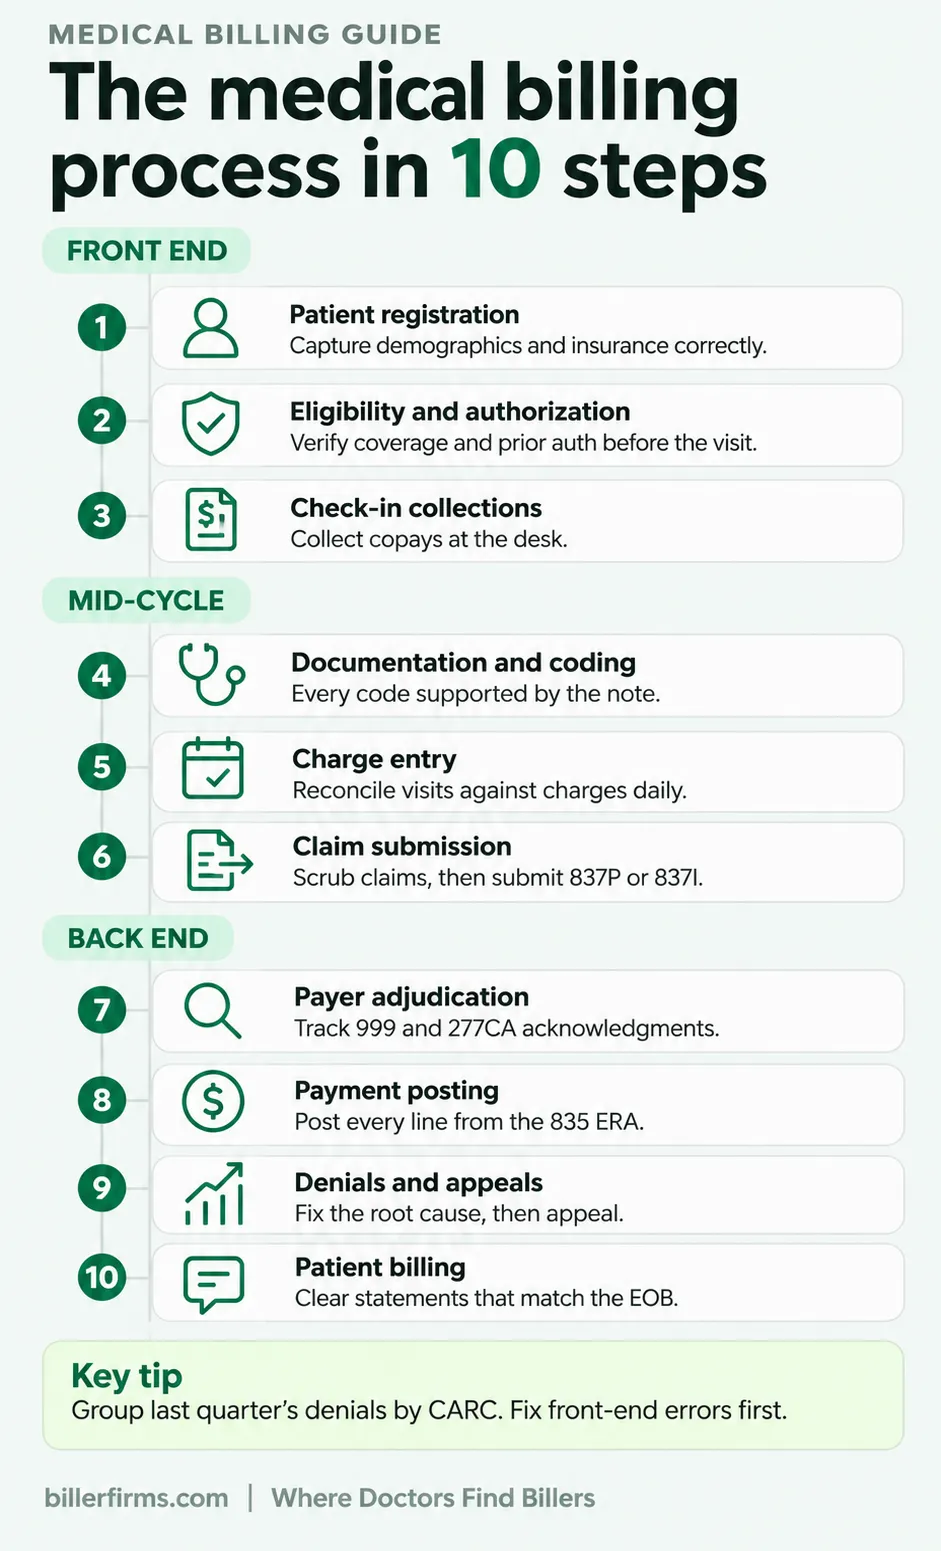
Step 1: Patient Registration
Registration collects demographics, guarantor details, and insurance information: payer name, member ID, group number, the patient’s relationship to the subscriber, and a scan of both sides of the card. It sounds like clerical work, but it isn’t. If a date of birth is wrong, or a dependent is listed as the subscriber, the claim gets rejected or denied, and fixing it later takes far longer than getting it right at intake.
Ask every patient to confirm their insurance at every visit, including returning patients. Coverage changes mid-year more often than most front desks assume.
Step 2: Eligibility, Benefits, and Prior Authorization
Before the visit, confirm that coverage is active on the date of service and check the patient’s benefits: copay, remaining deductible, coinsurance, visit limits, and whether the service needs prior authorization. Most practices run this check electronically with the 270/271 eligibility transaction through their practice management system or clearinghouse.
Prior authorization is where payer differences hurt most. Original Medicare requires it for a fairly limited set of services. Medicare Advantage plans require it much more often. Each state Medicaid program sets its own rules, and commercial plans update their lists regularly. Always check the specific plan’s current policy, not last year’s cheat sheet.
Step 3: Check-In and Point-of-Service Collections
Collect the copay at check-in. Where your financial policy allows, also collect known deductibles or prior balances. Money collected at the desk costs far less to collect than money you chase with statements.
Two compliance points apply here. First, the No Surprises Act requires you to tell uninsured and self-pay patients that a Good Faith Estimate is available. You must give them one when they ask for it or when they schedule a service at least three business days in advance. Second, don’t routinely waive copays or deductibles. For federal program patients, routine waivers can create Anti-Kickback Statute and False Claims Act exposure, and they may also breach your commercial payer contracts. Decide financial hardship waivers case by case, document each one, and have your compliance officer review your policy.
Mid-Cycle: Turning the Visit Into a Claim
Step 4: Clinical Documentation and Medical Coding
The provider documents the encounter. Then a coder, or the provider, assigns the codes: CPT or HCPCS Level II for what was done and ICD-10-CM for why it was done. The diagnosis has to support the medical necessity of the service, and the note has to support every code. If it isn’t documented, you can’t bill it.
Modifiers need extra care. Modifier 25 tells the payer that a significant, separately identifiable E/M service happened on the same day as a procedure. The note must show work beyond the usual evaluation that comes with the procedure. Modifier 59, along with Medicare’s more specific X modifiers (XE, XS, XP, XU), marks a distinct procedural service that would otherwise be bundled. Using these modifiers to get around edits when the services aren’t truly separate is unbundling, and auditors have targeted it for years. Add them only when the documentation clearly supports them.
Step 5: Charge Entry
Charges move from the encounter into the billing system, either automatically from the EHR or through manual entry. Two things go wrong at this step: charges get entered late, or they never get entered at all. Missed charges are quiet losses because no denial ever flags them. Each day, reconcile completed appointments against posted charges.
Step 6: Claim Scrubbing and Submission
Professional claims go out electronically as the 837P, whose paper equivalent is the CMS-1500. Institutional claims go out as the 837I, whose paper equivalent is the UB-04. Before submission, a claim scrubber checks for missing data, invalid codes, and conflicts with NCCI edits, which CMS updates every quarter.
Your team should know the difference between these two outcomes:
A rejected claim never entered processing, so it doesn’t protect you against the timely filing deadline. Medicare allows 12 months from the date of service. Commercial plans and Medicaid programs often allow much less, depending on the contract or state rule.
Back End: Getting Paid and Fixing What Didn’t Pay
Step 7: Payer Adjudication
The payer checks eligibility, coverage, coding edits, authorization, and contract pricing. Then it pays the claim, pays part of it, or denies it. Watch your 999 and 277CA acknowledgment reports closely. If a claim still has no 277CA acceptance after several days, don’t treat it as pending. It is probably lost, and someone should follow up.
Step 8: Payment Posting
Payments come in on the 835 electronic remittance advice (ERA) or a paper EOB. Post every line, including adjustments. Read the CARC and RARC codes instead of writing balances off in bulk. Compare each allowed amount against your contracted fee schedule, because payers won’t tell you when they underpay.
Step 9: Denial Management and Appeals
Sort denials by root cause, not just by payer. Common CARCs include:
- CO-16: The claim is missing information needed to process it. The RARC tells you what’s missing.
- CO-50: The payer doesn’t consider the service medically necessary.
- CO-97: The payer treats the service as bundled into another service it already paid.
- CO-29: The filing deadline has passed.
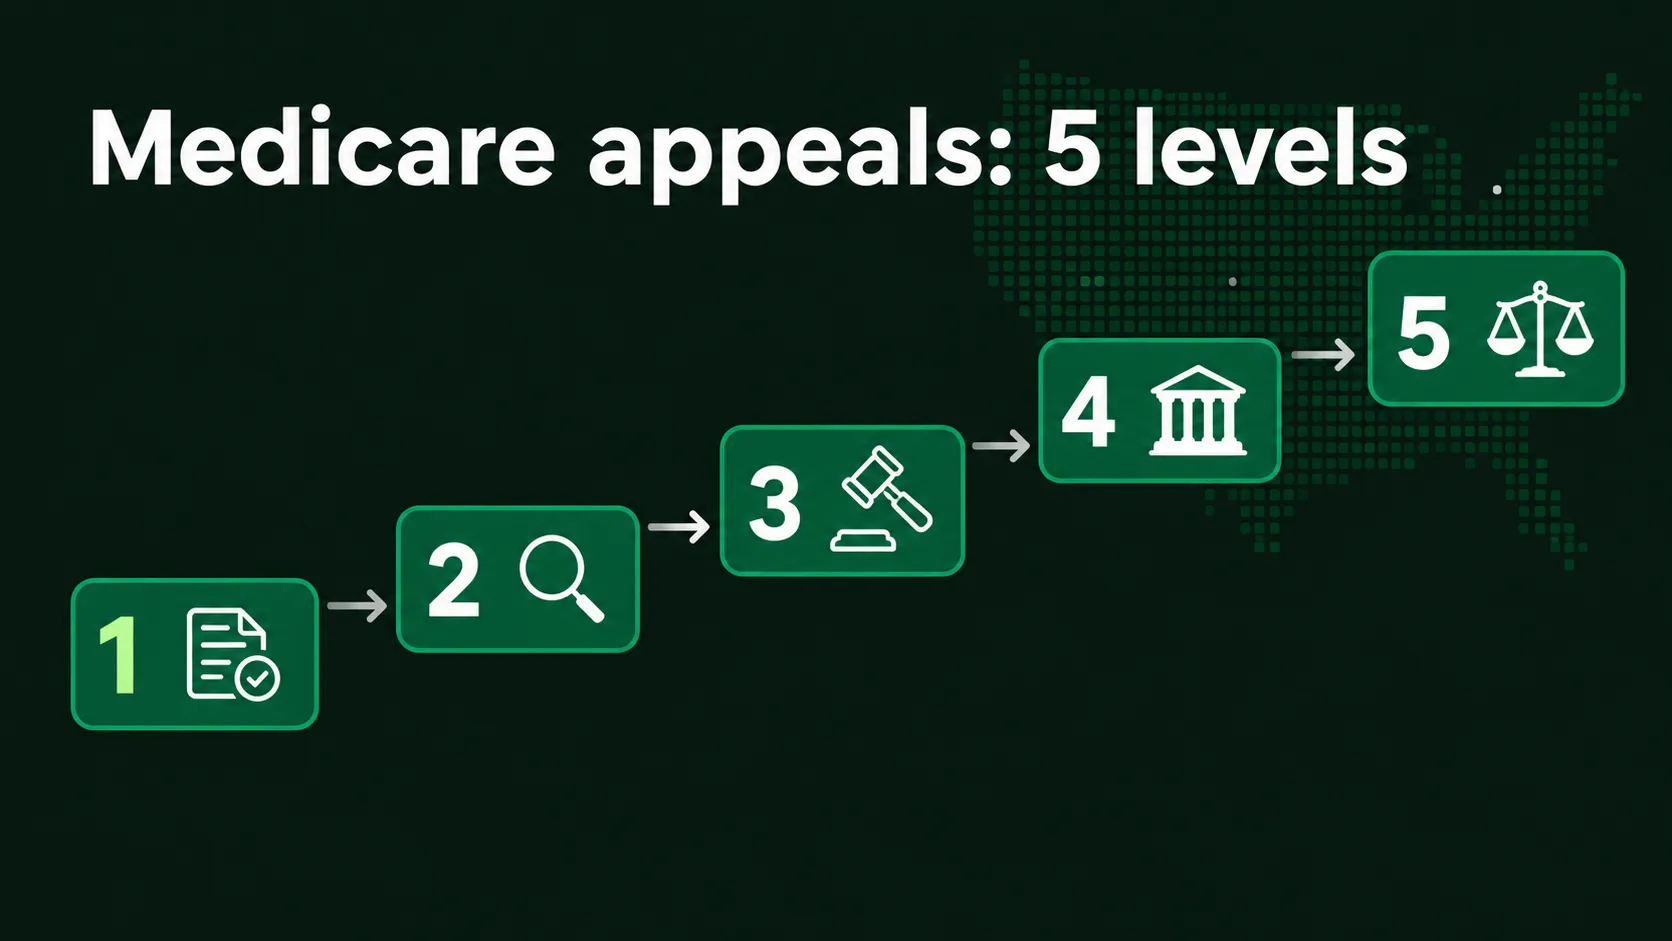
For Original Medicare, appeals go through five levels. Level 1 is redetermination by the MAC, which you must request within 120 days of receiving the remittance notice. Level 2 is reconsideration by a Qualified Independent Contractor, followed by an Administrative Law Judge hearing, Medicare Appeals Council review, and finally federal district court. The later levels have minimum dollar thresholds (amount-in-controversy), and CMS adjusts them every year. For commercial plans, appeal levels and deadlines come from each plan’s rules and your contract.
One detail many guides skip: Medicare generally doesn’t treat a denial for late filing as an appealable determination. The only reliable fix is to file on time in the first place.
Step 10: Patient Statements and Collections
Once insurance has processed the claim, bill the patient for their share. The statement should be clear and should match the EOB. Offer online payment and payment plans. Follow a written collection policy and apply it the same way to every patient. Before you send accounts to a collection agency, check state law and federal debt collection rules.
Metrics That Show Whether Your Billing Process Works
Four numbers tell you most of what you need to know. Your clean claim rate is the share of claims accepted on first submission with no rework. Your denial rate is best tracked both by claim count and by dollars, because a few large denials can hide behind a low count. Days in A/R measures how long money takes to come in. Your net collection rate compares what you collected with what you could realistically collect after contractual adjustments.
Benchmarks vary by specialty and payer mix, so compare against your own trend line rather than a number from someone else’s practice.
Your Next Step
Pull last quarter’s denials, group them by CARC, and find your top three reasons. Often at least one of them traces back to Steps 1 through 3. Fix that front-end workflow first, because the fix pays off on every claim that follows.
Disclosure: This article is published by BillerFirms, which provides medical billing and revenue cycle management services. If you’d like help managing these steps, Visit our Medical billing services page.
Frequently asked questions
How long does the medical billing process take?
What is the difference between medical billing and medical coding?
What is the difference between a claim rejection and a denial?
What is the timely filing limit for claims?
Can a practice outsource the medical billing process?
Looking for a medical billing partner?
Compare vetted billing companies by specialty and state, or let us match you with the best fit, free.